

That there is a picture of a Brooks b-17 saddle that is about to be man-handled by two hairy men for an hour. When it comes to re-railing, that B-17 is one tough customer.
I busted the rails on it last summer when I was riding around Vancouver Island. It's a bummer, because the saddle was only about 3 years old and just starting to break in. I ordered a replacement frame for it about 6 months ago and just got around to fixing it now. My plan was to take photos along the way as we fixed it. If you lurk around the iBOB or Touring bike lists as I do, you'll come across a number of folks who have broken the rails on the Brooks saddles that have the copper-coated rails. So, I was thinking I'd be doing a great public service to sort of document and photo the re-railing of the saddle for the benefit of mankind. I didn't do too well on that account.
The reality is, you just have to brute force that sucker on there. The deal is, is that the leather is really stretched over the frame. There's quite a bit of tension there. As we figured, you have two options:
1. Fit the nose hardware in the front and attempt to pull the leather over the rear of the saddle while you punch in the rivets, or
2. Punch in two of the rivets in the rear, then figure out a way to jam the front hardware into the nose.
Option 1 seemed impossible. We had some extra rivets so we decided to go with Option 2, figuring that we could drill out the rivets and go back to Option 1 if we totally hit the wall.
As I mention, it took about an hour. It's brute force and some filing and squeezing the front hardware in a vise to shape and squish it a bit. There's some wrestling, some swearing, some head scratching, and a large rubber mallet involved as well. If you have a saddle with a broken rail and you are trying to get it repaired, all of this non-precise instruction will make sense. Granted, it likely won't help much, but it will make sense.

After you force the front hardware into the nose, punching the rivets is pretty straight forward. It's also a two person job. One person to hold the saddle and the punch and the other to strike the punch. I'd love to see some pictures of the folks at the Brooks factory putting these together. They must have some pretty specialized vices and hardware.
Updates
Swapped
Bike swap will be next year. There's a back story there, and it will be told. And I will tell it. But not now.
Trek
I've been riding the Trek and it's everything I want it to be. It's back at Hairy Gary's getting fit for a convertible rack. He says a week. I say I'll start bugging him in a week. It is a really fun bike to ride.
Liza is Certified
This should be the headliner -- Liza did her 2 weeks at UBI and just got her test results back today. She is officially a Certified Bicycle Technician. She took lots of pictures of bikes and there's a couple shots of her at UBI here. UBI is not an easy course -- Liza didn't have a ton of mechanical experience going in, so she had to work super hard. And she did: staying late, going in on the weekend to practice.
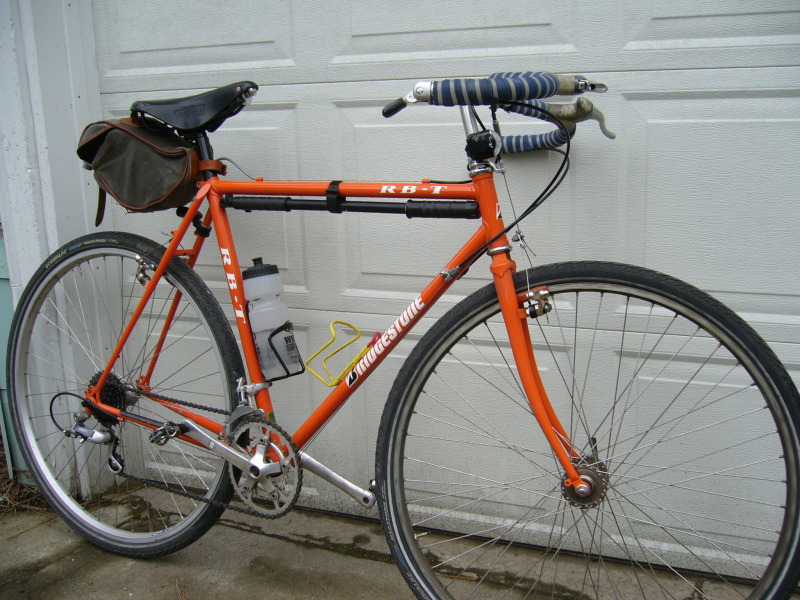
She rules. Since she's been home, she's totally reworked our little shop into a pristine workshop; she's built two wheels; overhauled her daily driver; swapped out a crank set and handlebars on my buddy's RB-T; and has a bike to-do list a mile long.
Bicycle Advisory Board
Next Meeting. All meetings open to the public: Tuesday -- Feb 20th, 6PM in the City Hall, bottom floor in the Council Briefing Chambers.

2 comments:
Congrats to Liza, thats a great accomplishment, especially without a big mechanical background.
Hi
Thanks for sharing your saddle repair adventure.
I have seen how saddles are assembled at the Brooks factory. For saddles with the small steel rivets (B.17 Standard, B.67, etc. the rivets are set with a press. For saddles with the copper rivets they are hand set. There is a picture of Derek the rivet setter at his workbench here:
http://www.wallbike.com/Swift.html
Derek has since retired. He had an apprentice but the trainee was on limited riveting duty because he had only been at it for six months. Or that's what they told me.
The separate parts of the saddle are riveted before the tensioning mechanism is assembled. They use a hydraulic saddle stretcher to facilitate getting the tension bolt into the nosepiece. Picture here:
http://www.wallbike.com/accessories/tension.html
Post a Comment